
AHL LabNote 42-Field and clinic postmortems: Simplified protocol and image list
Josepha Delay DVM, DVSc, Diplomate ACVP, Mammalian Pathologist
Digital images captured during postmortem (PM) examinations provide a permanent record of lesions. The images are a very useful communication tool when consulting with pathologists and other specialists. PM images provide valuable supplemental information for pathologists evaluating tissue samples submitted to a diagnostic laboratory for histologic examination. Images may be emailed to AHL pathologists at ahlpath@uoguelph.ca
The image list below provides both a step-wise guide to the postmortem procedure and a suggested set of images that are applicable to all species of companion and food-producing animals. Establishing and following a standard routine for PM procedures is important. This allows the practitioner to spend more time identifying and interpreting lesions, rather than concentrating on the logistics of the exam. Developing a PM routine is similar to having a routine protocol for physical examination in a live patient.
Remove ear tag or create ID label, and include with all photos.
|
|
|
|
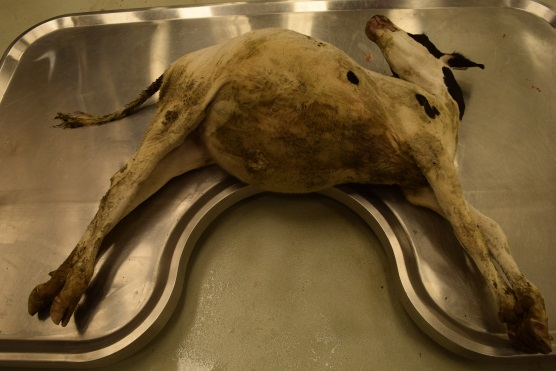
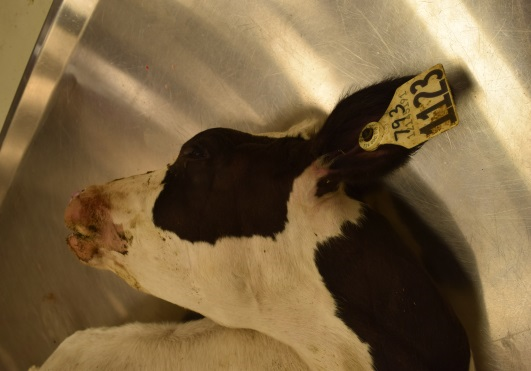
Image 1. External views: full body, head, thorax/abdomen, perineum
|
|
Open abdominal and thoracic cavities.
|
|
|
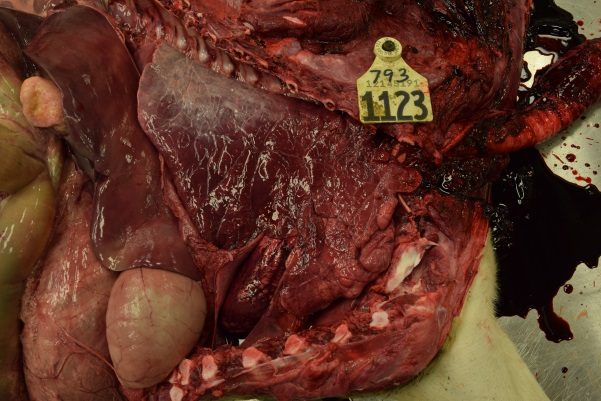
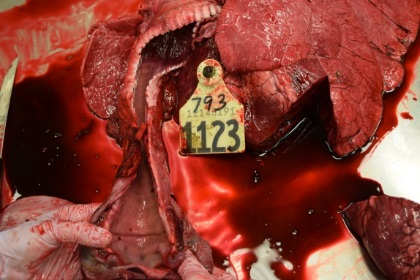
Image 2/3.Opened thorax (with organs in situ). Heart in situ, with pericardial sac opened (check for fluid, exudate, etc). |
Remove pluck.
|
|
|
||
|
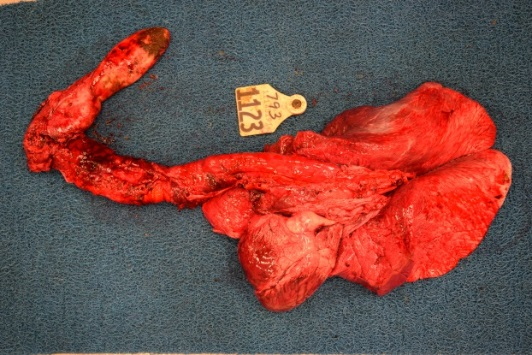
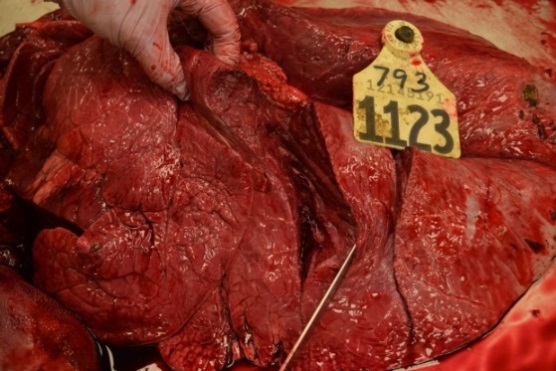
Image 4.Pluck, with focus on lungs (dorsoventral view, with right and left lung visible). |
Image 5.Cross-section of right and left lung. |
||
|
|
|
||
|
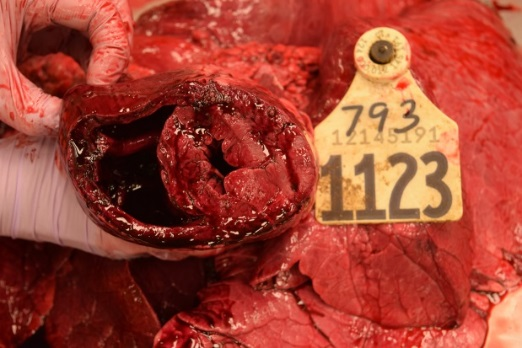
Image 6.Cross-section of heart through both ventricles. |
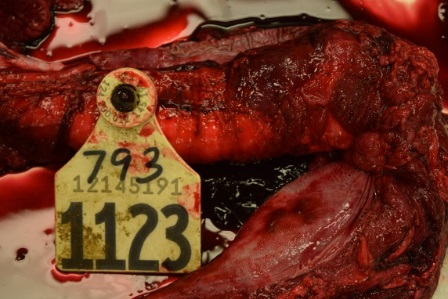
Image 7. Larynx (including thyroid glands) and trachea: opened and mucosal surface exposed |
||
|
|
|
|
|
|
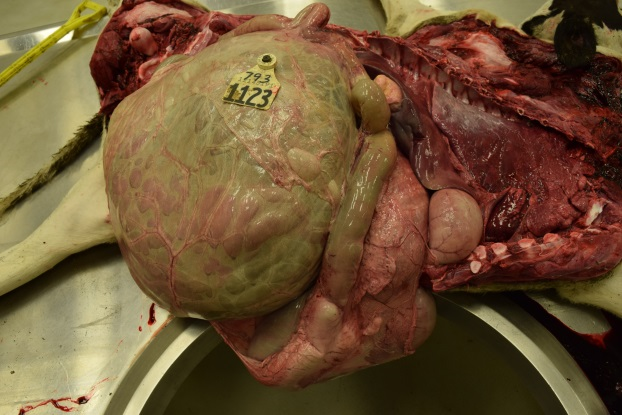
Image 8.Opened abdomen (with organs in situ) |
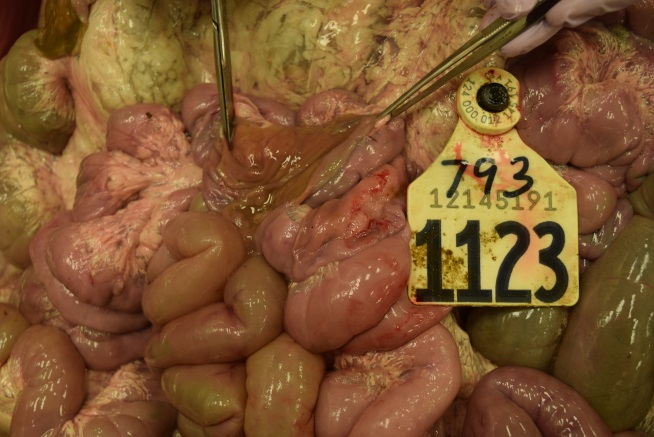
Image 9.Opened abdomen with intestines fanned out. |
|
|
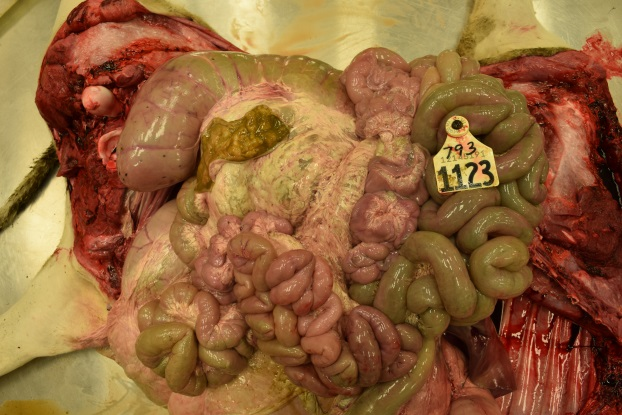
In ruminants, remove omentum. In all species, fan out intestines and locate cecum and ileum.
|
|
|
|
Image 10.Open cecum, ileum, and jejunum to expose mucosal surface. |
Image 11.Open colon to expose mucosal surface. |
|
|
|
|
Image 12.Open duodenum to expose mucosal surface. |
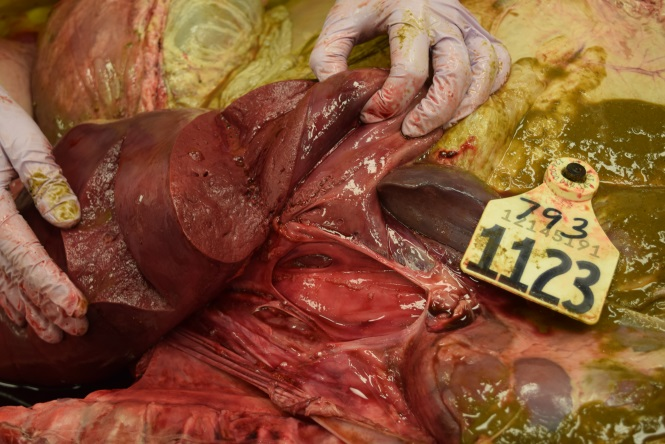
Image 13.Liver – capsular surface. For ruminants, include opened caudal vena cava. |
|
|
|
|
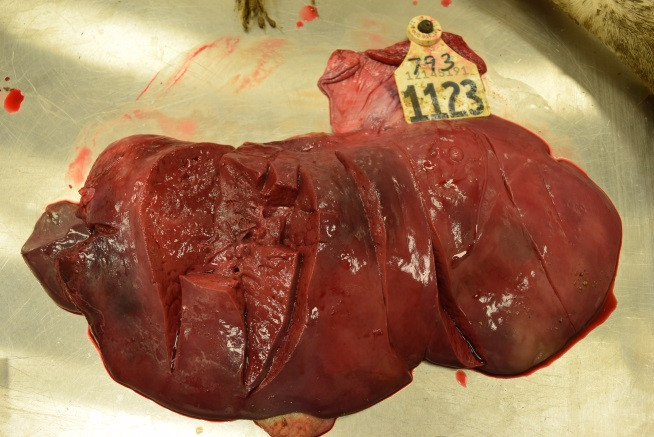
Image 14.Liver – cross section. |
Image 15.Abomasum/stomach – serosal and mucosal surface |
|
|
|
|
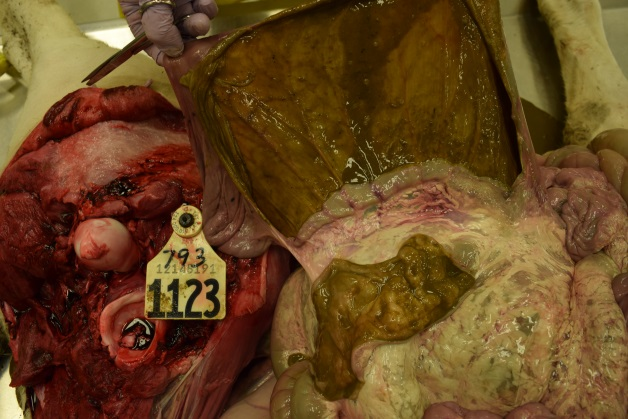
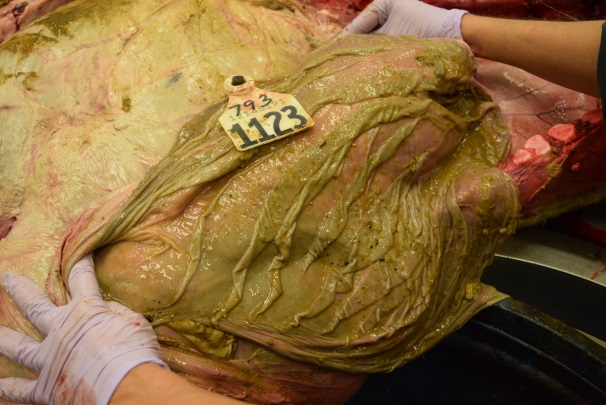
Image 16.Ruminants: rumen – serosal surface. |
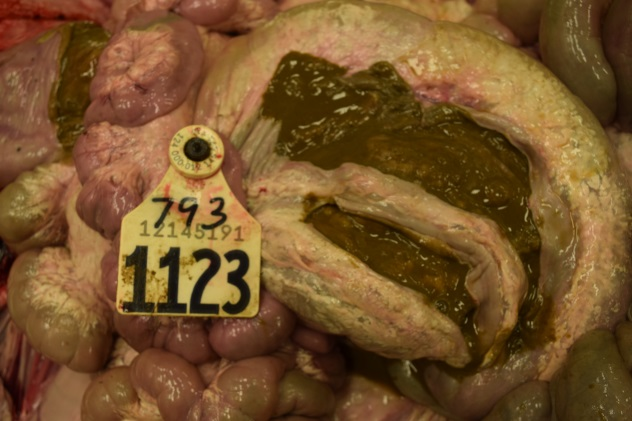
Image 17.Ruminants: rumen – mucosal surface and content. |
|
|
|
|
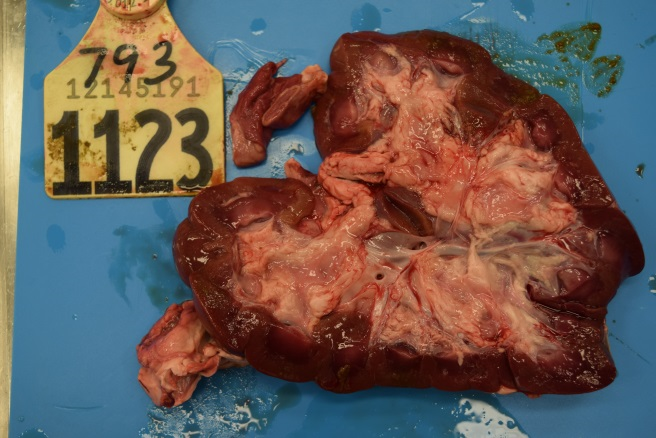
Image 18. Kidney: sagittal sections, with cut surfaces exposed. |
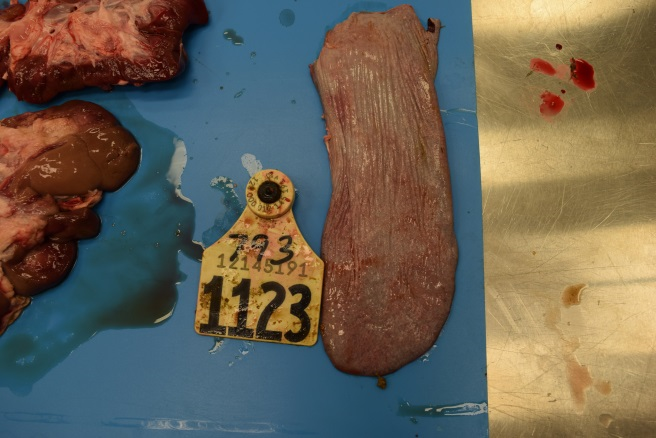
Image 19. Spleen: capsular surface and cross section. |


|
|
|
|
|
Image 20. Adrenal gland: cross section. |
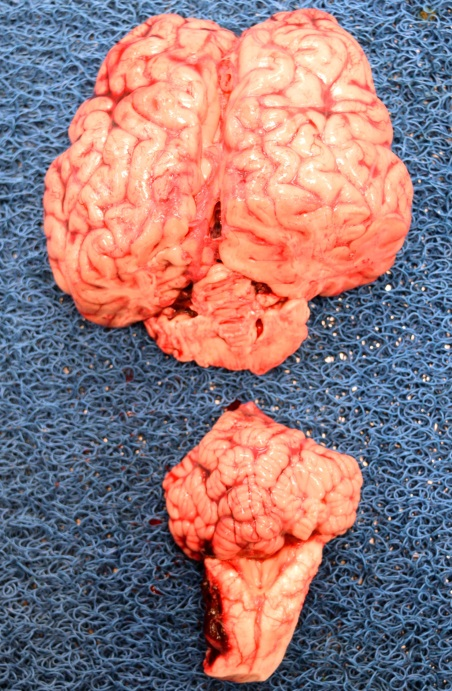
Image 21.Brain. |
|
Unexpected death / neurologic cases: Remove brain. Also remove spinal cord if required, based on clinical signs.
For details, see LabNote 33:
File attachments
| Attachment | Size |
|---|---|
| 1.34 MB |