Welcome to the University of Guelph!
-
As a new/re-hire to the University of Guelph, you are required to provide certain personal data and also complete and e-sign federal and provincial tax forms to be set up in the University's payroll systems.
-
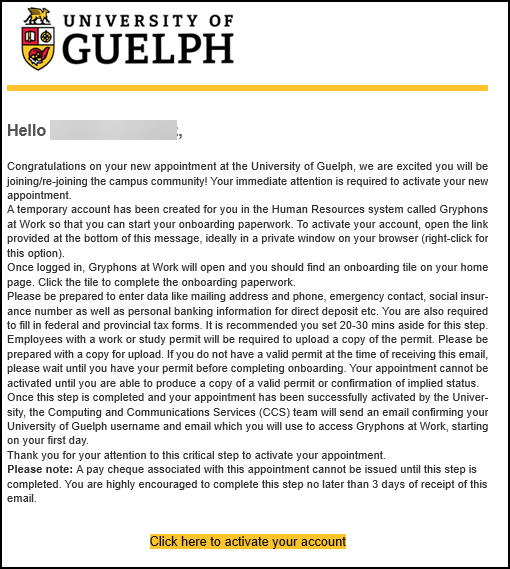
As soon as your department has initiated onboarding for you, an email from: Gryphonsatwork-ias@uoguelph.ca [1] will be sent which will include a one-time activation link to create a temporary profile so that you can access your onboarding paperwork to complete the following:
-
Provide personal data including DOB, SIN and Banking information
-
Fill compliance / TD1 tax withholding forms
-
Provide eSignature on Tax Forms (via Docusign)
-
-
Please note you may need to pause in between completing each section before the next section can be started.
-
You are strongly encouraged to complete these tasks as soon as possible to avoid any delays in your pay. If you are unable to complete this step, please initiate a help ticket by emailing: gryphonsatworkhrmshelp@uoguelph.ca [2].
-
Returing Employee to U of G? If you have worked the University of Guelph before, the system will identify you as a returning employee and you will be invited to complete the New Hire Tasks a second time to validate your merged profile data.
For dept admins who would like to send the key pieces of information below to their new/re-hires, please go to the Template Email for Department Admins page [3].
For New/Re-hires, please follow the steps below:
-
Open the One-Time Activate Account link (in private/incognito browser window) and create a temporary onboarding password for the account. If the one-time activation link has already been used or is not working see instructions below.
Having troubles accessing the paperwork using the one-time activation link?
- If you have already activated the one-time link or the one-time activation link is not working as expected, please open this url in private/incognito browser window: https://asuolifvr.accounts.ondemand.com/saml2/idp/sso?sp=https://www.successfactors.com/universi18&idp=https://asuolifvr.accounts.ondemand.com [4].
- For user name, key in the email address the gryphonsatwork-ias message was sent to, and click 'forgot password' if a temporary password was not already created using activation link.
-
After your password has been set, click ‘Continue’ to be automatically routed to your temporary profile home page on Gryphons at Work where you can click into your Onboarding Checklist as pictured below.
-
By clicking the tile, you will be brought to the new employee tasks, where you can begin by completing your personal information. Select Get Started to continue.
-
Provide Personal Data to begin. Fill in your Date of Birth and other required fields (Gender, Marital status, Has Provincial Health Coverage and Do you have a social insurance number?). All required fields are marked with a red asterisk (*).
-
Fill in your Social Insurance Number (SIN). If your SIN starts with a 9 the system will require you to upload a work permit as an attachment.
-
Upload a work permit if relevant and confirm whether you are covered under a Provincial health plan such as OHIP. If you do not have a SIN, you will be instructed to enter a series of 9s into the temporary SIN field. This will send an email to you and your supervisor explaining how to get a SIN. We cannot process payroll until a valid SIN is provided.
-
-
Confirm your email and ensure it is marked a Primary. Add or update your address if needed. A home address is required for payroll.
-
If there are any blank sections, remove them using the trash can icon.
-
Enter an Emergency Contact, mark at least one Emergency Contact as Primary.
-
Click Continue.
-
Answer the question about your employment history. Click Continue.
-
If you indicate at this point that you have previously worked for the University of Guelph, ensure you select the correct option for whether you contributed to UHIP and enter your previous termination date if you know it.
-
-
Answer the question about the Provincial Coverage. Click Continue.
-
If you indicate that you do not have Provincial health Coverage, an email will be sent to you and your supervisor explaining that health coverage is a requirement of your employment. The email includes instructions on how to enroll in OHIP, or, how to enroll in UHIP if not eligible for OHIP coverage. If you do not enroll in UHIP within 2 weeks of your start date you will be automatically enrolled by HR.
-
-
The Payment Details section will appear where you can enter your banking/direct deposit information. Select the Payment Method.
-
You are highly encouraged to select Bank Transfer to receive direct deposit
-
-
After you have double checked your entries, click Submit. Double check your entries and select Proceed.
-
Once the personal information has been completed, the screen will take a moment to refresh and will display the next step in the process, the tax forms.
-
Click on the TD1 Personal Tax Credit Return and fill in the tax forms using the instructions provided on the page and fill in the required fields in the form.
-
At the bottom of the form, you must certify that the information is accurate and click submit.
-
Click on the TD1ON Personal Tax Credit Return and fill in the tax forms using the instructions provided on the page and fill in the required fields in the form.
-
At the bottom of the form, you must certify that the information is accurate and click submit.
-
Once you have completed your tax forms, the items will show as complete.
-
Check your primary email account and take action on an email coming from DocuSign CA System dse@camail.docusign.net [5] on behalf of the individual who complete the task. The email title will be ‘New documents for [YOUR NAME]’. Select Review Documents to proceed.
-
To complete the e-signature, you must Agree to use electronic records and signatures. Click Continue.
-
Click Sign to add your digital signature.
-
Customize your signature as needed and click Adopt and Sign.
-
Click Sign to add your digital signature. Select Finish.
-
Once you have signed off on the two tax forms, select Finish.
-
Save a copy or create an account if needed. You are not required to create a Docusign account.
-
Return to the Onboarding checklist to confirm all tasks are completed.
-
At this point you have completed your new hire tasks. Administrators at the University will be informed automatically through the system and will complete the final steps for your first day.
-
If the system identifies you as a returning employee, you will be sent a series of emails advising that onboarding has been restarted and requesting that you complete this step a second time. The second time you complete this step, your old data will be merged with your new data for final validation. Use the trash icon to delete any out of date information. The only data point you will be required to re-enter is your Social Insurance Number.
-
Instructions to enroll in benefits if eligible will be provided on your first day.